Monday, September 6, 2021

ReaperCon 2021 - Day 4 and Wrapup


Day 4 barely exists for me now as a convention experience. I say goodbye to people and fly home. There's a few classes and until this year the biggest Sunday attraction was the auction where you could use your ReaperBucks. Way in the early days I was part of the auction (it was fun and informal) but that changed and I didn't see a reason to stick around.

The last few years they started having prize drawings and you could buy additional tickets with ReaperBucks. This worked out well for people who weren't there for the entire convention.

This year there was no auction and no raffles. They did a straight up booth to buy stuff with convention money. I heard the prices ran the gamut from reasonable to not so much without much sense in how they were assigned. I don't need anything so I ended up handing over mine to someone buying up discontinued terrain tiles.

I did pick up my painting contest entries and got my medal since I wasn't at the award ceremony to get it then. I'll do another post to talk about my personal experience with the painting contest now that I sold out and entered one.

After that is was all packing and travel back home.

My ribbon collection isn't impressive but it pleases me. I don't try to accumulate them on purpose so if I get them I get them. This is the final result for 2021. Notice that "Bronze" ribbon in the lower left because you don't get those until you pick up your entries so they're hardly noticed at all at the convention itself.

I'll hang this on the corner of the bookshelf with all the previous passes. It's quite colorful over there.

As I have for many years now I wonder if the convention was worth the time and money. I do ask myself that every year. And so far the answers have weighed towards going again.

I'm thinking about it this year and the balance has shifted again. Some rumors about next year are making me hesitate but since they're rumors and the convention is almost a year away I can set those aside. My class experiences are making me wonder if I've learned all they have to teach me, given my interests. Then I wonder if maybe it's time to try teaching again. I know very few people at the convention now and it's fewer every year so the social aspect has dwindled to almost nothing. The main swag was purchased online by anyone and the convention swag will hit the store anyway. There's a lot to drop into the hopper as I put this one behind me and think of next year.

One thing that never changes is my hate for Texas weather. I could accept it more before my move but now the whole concept of 'humidity' is unpleasant in the extreme.

Reading back over the daily posts to correct stuff (I typed them on my phone for reasons that made sense at the time) I noticed a generally negative tone to them. Some of that I'll put down to being in pain. It comes through in my writing. Some of that I'll put down to be just stupid tired due to travel and socializing after so much time being alone. The rest? That's because my convention experiences just aren't all that light and fluffy. I go there expecting to have fun and then rediscover that the events and general activities aren't what I enjoy very much. 

Don't think the convention isn't fun if you like painting, gaming, hanging out, etc. ReaperCon is still the nicest and friendliest convention I've ever attended. Where else do you feel people could set up their large paint stations in the main hall on Thursday and leave them there until Sunday, unattended at times? No one gives that a second thought. Overall people are friendly and there's plenty of things to do. I think my personal experiences come from having been to so many of them and seeing the changes in the convention, the attendees, and the company. I accept that things change. My question is whether I want to be there for them.

Saturday, September 4, 2021

ReaperCon 2021 - Day 3


Day 3 should be a shorter post. It was my 'day off' as it were. No classes, no obligations, etc.

I spent the morning hanging out. I would have liked to have shopped the small selection of vendors but on my first pass through on Thursday to get the punch card done I saw there weren't many that interested me. So that was out.

Because I entered the paint competition I was eligible to vote for Best in Show. I made a pass through the entries and didn't find anything I really liked so no one got my vote. I'm harsh on that kind of judging.

My Best in Show choice has to 'catch' me. It doesn't need to be the best paint job or anything. There has to be something that makes me want to take it home. I didn't see anything like that this year so I abstained.

I made good on my promise to myself to at least do a Paint and Take. That's where you sit down, pick a mini, and paint it. It's a nice way to introduce people and get them started - free mini and they provide brushes and paint.


I painted a bit on this one and realized a few things. I really dislike painting direct on their 'these minis don't need primer' models because they do need primer unless you want to wait forever and have to keep throwing paint on until it covers. I also didn't like the strangers who don't understand painting etiquette. The person who I think was supposed to be keeping an eye on things seemed more inattentive than they should have been. So I stopped after that bit of paint on her thorax. 

That experience let me cross off all the scheduled paint events from my list.

I physically overdid it when I took the factory tour. Walking isn't my best thing and by this point I was in bad shape. Even after being here so many times I enjoy the tour. This year they included new areas that they bought and/or built out since the last convention so I was excited to see them.

Unfortunately my knees were not of the same opinion. I expected to have to skip the upstairs portion. I did the last few conventions. I didn't expect to have to miss other sections. The owner giving the tour was nice enough to ferry me over to the new buildings in the company golf cart tho.

One new building will be warehouse. That makes sense. The other is mostly for their streaming stuff and that didn't interest me. I may blog about that later.

In the building with the studio is a wall of names. We were asked during their last Kickstarter if we wanted our names painted on the new building. I certainly did. Instead they put them on an inside wall so they wouldn't be exposed to the elements so our names will last a lot longer.


It was nice to find my name in there. It was even nicer they're in alphabetical order.

The studio areas were efficient and they find them useful. The other areas are still being made less industrial, except the room where they make their newest type of plastic minis. I'm still not sure of that process or material. I'm also not interested enough to ask.

After a brief look at a couple of specific vendors I cleaned up what I had at the paint table and took it back to my room to pack. I still have the gift certificate that came with our VIP ticket to spend. They didn't have what I wanted in stock but they should be refilled tomorrow. 

Finally there's the paint contest results. I never go to the awards ceremony and didn't see why this year shod be any different. I got a text that I won a bronze medal for this dude


Not too shabby for the amount of work I put in. I did spend time replacing the broken dagger. I also think he looks better with the replacement.

So that's day 3. Tomorrow there's more going on but I leave before the official end of the convention. 

Friday, September 3, 2021

ReaperCon 2021 - Day 2


Yup. Still ReaperCon.

Yesterday we got a note from the hotel giving us coupons for breakfast. I guess people who weren't staying here were taking advantage. It's a nice idea but not very practical. They took the coupon at the official entrance but everyone would go back for refills using the 'exit' and no one was checking anything.

No biggie. Brought the coupon and had a nice breakfast.


I took some pictures of the main room again. I will admit to these being carefully framed to look like there was a good crowd. In fact there were sparsely occupied areas to be found as well as dense ones.

My first class was on weathering. Even I admit this looks pretty darn good for a class mini. However the instructor did a LOT of prep work for us. The bulk of the darker rust areas were from them sponge painting rust, using a product to mask areas that would be rusty, then spraying on the main color. Our part was rubbing off the paint/mask to reveal the rust.

We did do the streaks and scratches.

As always I like this instructor and after seeing how well it works I may buy the product depending on price.

My second class was a mistake. I was too advanced for the material. The instructor was also reading off their handout like it was a PowerPoint presentation. No pictures because I didn't feel it warranted any.

I chatted with the instructor after class and found out they learned all this from someone I learned it from before they every started painting.

I demurred about going to the second class that was supposedly more advanced material. They even gave me a copy of the handout to help me make my decision. My decision was to give away my ticket.

If you're going to read off the handout for your class there's isn't a lot of incentive to sit and listen to it. 

A lot of people would find inspiration in that class. I'm not one of them.

I did finish painting the dagger. I remembered paint dries a lot slower here than at home and planned accordingly. With that done I could enter them into the contest.

I pre-registered even though I was on-site. They seemed to be trying to speed up the process by having us enter the bulk of the information online rather than filling out paper forms someone else would enter into the computer. I found out that was the way to get the special coin anyway so it's all good.

I chose to gave them take the display pictures. There was a self service photo booth but there wasn't a line and I'd rather have a good picture from a good camera that someone other than me took.

Toxic Blue

Hangry Dwarf

Appearances are not always deceiving 

These are much better. I had to come up with entry names and since I'm not vested in the results I picked what came to mind.

The rest of the evening was spent socializing.

I mentioned I'm wearing my old convention shirts as a flex on the majority of attendees. Someone else I know is wearing the same range of shirts for the same reason. We never said we were nice.

ReaperCon 2021 - Day 0 and Day 1


OK. Days 0 and 1 get a single post since Day 0 isn't very picture worthy in my opinion.

Day 0

Day 0 was travel, more travel, hotel stuff, shopping, convention check-in, and a 'Meet & Greet' dinner.

There was nothing special about any of that. We got our convention welcome pack then went to our room to start the process of making big piles of stuff.


There's also a gift certificate usable only at their convention booth and convention money (Reaper Bucks). They said each hotel got different special minis and I'll be checking into that when I go shopping.

We snuck in a day early to do our metal-by-weight shopping. We've always set aside Thursday for that but it seems the company only wanted it to happen Friday and Saturday. Our bad. We did our shopping anyway. There's some advantages to being old timers.

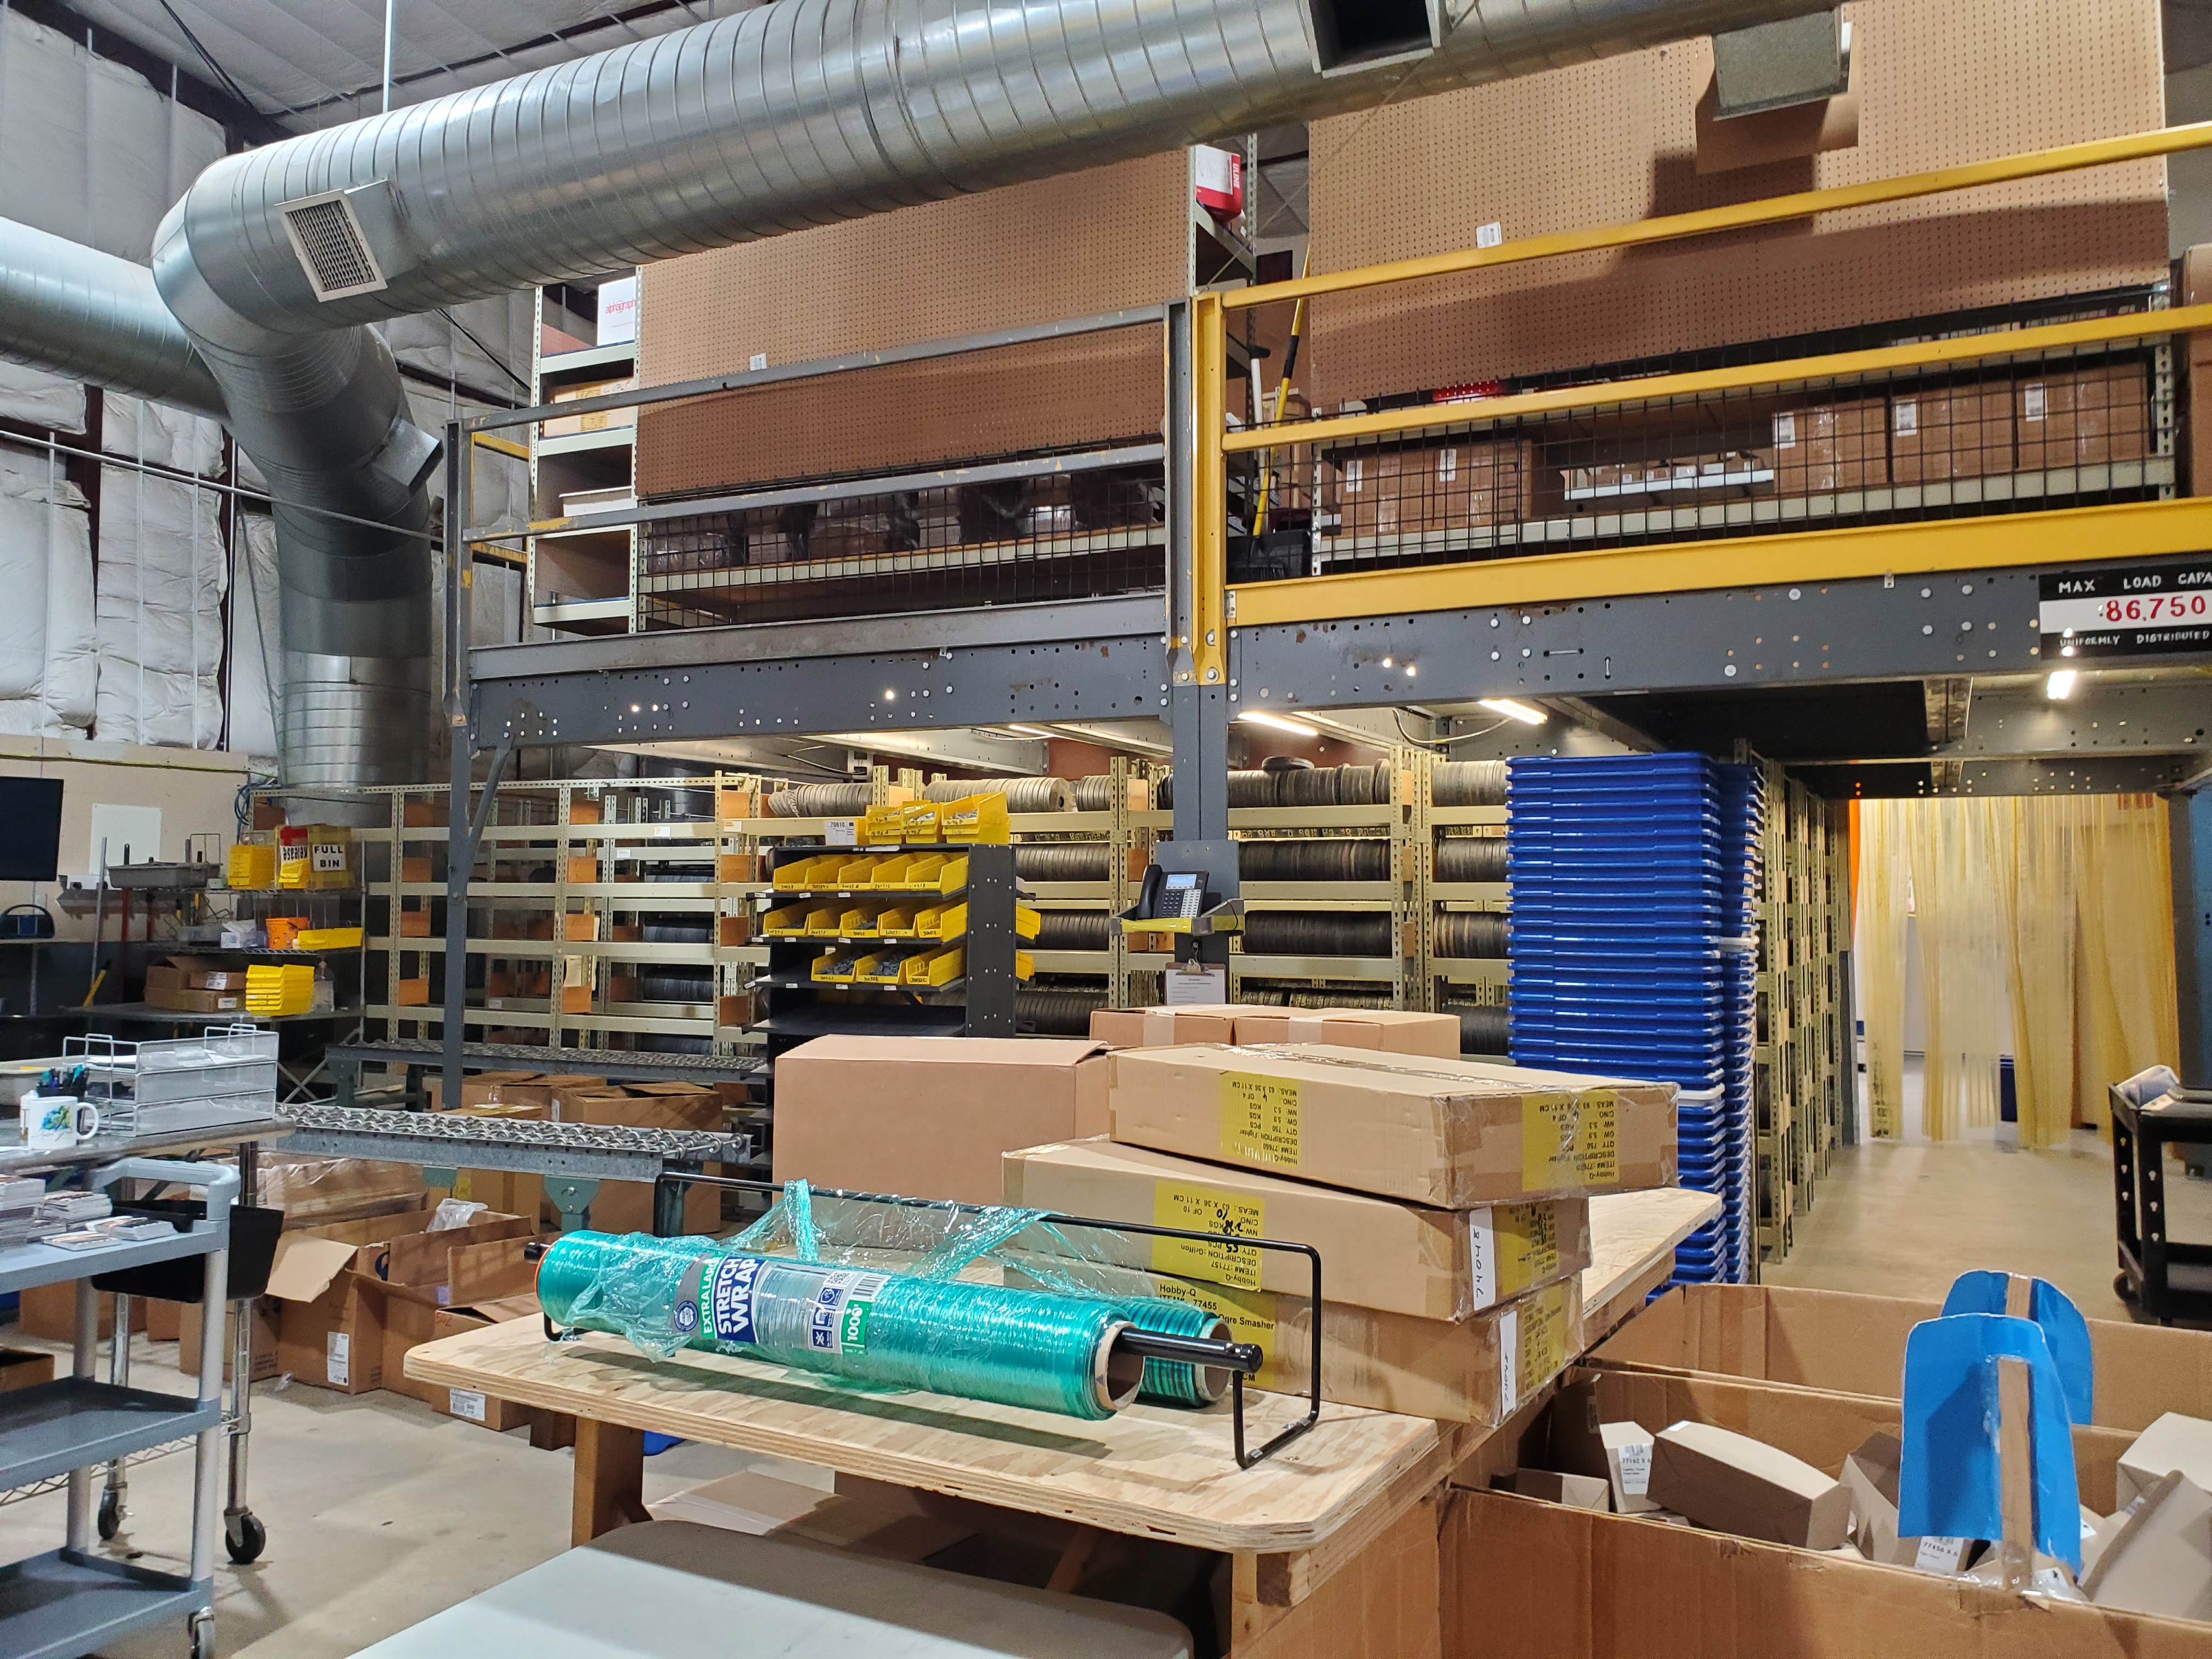
The factory, looking back towards the store entrance. This is all product storage now.

The mold racks. They have a lot of molds. Casting is done in a room behind these.

Way in the back are the unpackaged minis you buy by weight, either with cash or trade in metal value.

I'll have better pictures when I take the official factory tour Saturday. 

The pizza Meet and Greet was burgers and hot dogs this year. That was a welcome change since I think the pizza the hotel serves is vile. The last couple of years I've resorted to scraping off and eating the toppings. They also had cake.

Food and food serving stations are not picture worthy to me.


These have been the standard type of badges the last few years. The ribbons are given out both by the convention and attendees who bought their own. Some people try to get them all and end up with huge tails that hit the floor. I take the ones that I earn at the con and the ones that I happen to acquire. This will grow throughout the weekend.

I'm going against my nature to enter minis in the painting competition. I'm only doing it for the Reaper Bucks. The minis are ones I grabbed from my dungeon crawl case. I have no interest in being judged which takes all the stress of competition away.

One of them broke in transit. His fragile dagger finally succumbed to my casual handling. Since I feel it's the best of the bunch I felt the need to fix it. My attempt to sculpt a replacement was a dismal failure. I found a suitable dagger on the pile of returned metal and pinned it in place. That's acceptable and will be easy enough to paint.

I pre-registered for the competition to get the special coin. I was mistaken in what I thought it would be. All Resper Bucks are cardboard coins and you get a 'special' silver one for doing that. It's still cardboard.

These are the terrible pictures I took to pre-register. They'll take better ones when I submit them. I hope.


The day ended with me chatting while I fixed the mini and my weekend table buddy painted.

Tomorrow will be much busier.

Sunday, August 29, 2021

I Forgot to Post This

I took pictures of this and meant to post it. But, of course, I didn't.


Yes. I know they've been done many many times but I wanted one. This isn't the original file I downloaded. I modified it to put a more secure bar across the 'back' and remove the printed dome in the lower left corner. By the time I got around to making the picture anonymous for posting the original file had been deleted. So I forgot about it again until a Twitter post reminded me.

I did get my second jab on schedule so obviously this was taken between the two. I'm responsible enough to get vaccinated even if I'm not so good on posting pictures of things.

The dome is a glass piece meant for some kind of jewelry. It makes the final result unwieldy enough that I wouldn't want to carry it around a lot but looks darn cool. The glass is clear. I put a piece of tinfoil under it then mixed yellow paint with white (PVA) glue to make the color. So it looks perfect from the top but can have different amounts of yellow based on the viewing angle.

The white and red are printed. The yellow bar is a piece of filament firmly glued into the piece (that was my mod since the original file had a very shallow indent) and looking at it I'm wondering if I should have used a more opaque yellow or if that's the most opaque pure yellow I have. Regardless I'm not printing another.

I cut a piece of clear plastic the same size as the vaccine card so not only does it fit tighter into the slot but it also protects the card from wear. This isn't my first rodeo in making badge/card protectors. I used a transparency sheet meant for inkjet printers for the plastic. That stuff is handy for far more than inkjet prints, in case you were wondering.

Funny thing. I showed this to my neighbor and they told their family about it. Later on they asked if I would make one for each member of their family but with their initials instead of the dome. Since I'd already remove it to a flat surface it wasn't difficult to make new bottom files with the initials. They chose the colors for each person and I went to work.


I know that the rectangles no longer conform to the prop standard but they do alternate so that they are aesthetically more pleasing to me. There are end clips that go with them but they don't add anything to the pictures. I cut more plastic and handed them all over to the neighbor. I was told the family is pleased.

As a total suckup I made one for my boss. I experimented with using yellow ink in the glue layer instead of yellow paint. It didn't work as expected. The ink mixed well with the glue but as it set it moved to the edges of the glass blob. I'm thinking that's because there's some space there and the glue rose up, along with the lighter ink. It didn't bother me enough to pull it out and try again. I don't like my boss that much.

I don't plan on making them for anyone else. They're all over Etsy for those who want to buy them. It's why I don't sell on Etsy. All the designs that have mass market appeal are where the mass market can buy them. It was fun to do for myself. It was a nice thing to do for the neighbors. It was a political move for me to do for my boss.

Update - The original design just moved platforms. I've published mine on all the ones where I have accounts.

Wednesday, July 7, 2021

Something Different - Printable Game Money

A picture of colored printable money - very brightly colored and an example of what's available
I belong to a Print and Play group on Facebook. It's exactly what it seems - printing games rather than buying the manufactured ones, if there are manufactured ones. There's plenty of games that are print and play only.

One of the members there made a very lovely set of game money for those who need it or want it. As much as I liked her work there was a problem for me. She made the bills so that they had rounded corners which meant work to cut them out and get those curves. Most of us have special punches to round card edges but I felt this wasn't quite .. quite. When you're printing game money you tend to need a decent amount.

Because I'm me I couldn't let this stand. If I was going to need game money (for whatever reason) I wanted files that would be efficient. Pretty, but also efficient.

This isn't something I'm good at doing. Graphic design is so not my forte. However I do have a friend who is good at it and likes projects. This wasn't a normal project for him as he tends to focus on model making but as I said he likes projects. We went back and forth and there was a lot of testing printing but eventually we got there. Well. He got there and I enjoyed the fruits of his labor.

As you can see from the picture at the top of this post the money is very colorful and we tried for bill colors that weren't going to be too similar. However there's only so many colors that work so we did our best.

Here's the fun part. There's four different kinds of files! The dollar sign is a bit limiting to modern games and possibly historical. I asked him to make a set with stars instead of that so they could be used for generic and/or futuristic games. Then after that was all set and tested I asked him for more. Since color printing isn't something everyone wants to do I asked for greyscale versions so they can be printed on colored paper. That's more like most game money anyway. That makes up the four versions!

To make this you need a printer (duh), a steel or steel edge ruler, a cutting knife, and some kind of cutting mat. The back of a legal pad works as a cutting mat. The instructions are included but the reason for this is cutting a single sheet of paper is a pain in the butt unless you plan for it.

Those of us who do this a lot tend to have either a slide blade cutter paper trimmer with guide wire (nice, buy it at your favorite craft store) and possibly a guillotine/chopper cutter (not an affiliate link or recommendation, just an example). Those work for most things but having tried the slide blade cutter for testing this I found that once you start cutting the paper flops all over the place. I can also see where it might be difficult to use the chopper. So those aren't recommended but hey, it's your choice.

These aren't currently up on his site.  They're so different from his normal categories that he chose to give them to me rather than put them there. That may change if he and I start making more printable game components but for now they reside here and in the files section of the Facebook group.

OK! On to the files!

I created a page to hold everything if we add more so they're easily found there. But hey, you're reading this so you should be able to download them from here too. It's only fair.

Colour Dollar Money Set

Greyscale Dollar Money Set

Colour Stars Money Set

Greyscale Stars Money Set

If you find these useful drop a comment on the blog. If there's other components you want to see us make drop a comment on the blog. Heck, drop a comment on the blog if you just want to say hi.

Enjoy being your own mint.

Monday, July 5, 2021

The Color Brown

The color brown is an interesting thing since it's not actually a color on its own. You won't find it on any color wheel and the art stores have the various shades in their own offset from the real colors. Brown is a muted orange. Yes, it's orange. Go figure.

20 different shades of brown with reasonably accurate names associated with them

Let that sink in for a bit. Brown isn't a color. Take a look at these two color range images and see if you can spot the overlaps. Once you see it you can't unsee it. You can thank me later.

20 different shades of orange with reasonably accurate names associated with them

I've been doing some color mixing and browns are part of that. You'd think it was easy - grab some form of raw and/or burnt umber, maybe add a color, done. Nope. It doesn't quite get that simple. Well, most of the time it is but only if you want a warm brown. Once you get into shades of brown it gets more complicated. Because brown doesn't exist on its own.

What brought about this post was me having made a mistake in my painting and needing to correct it without messing it up worse. In short I'd used an orange heavy brown where I shouldn't have done. The painting is too far along for me to want to strip and start over, especially since I've done that once before with these.

It turns out I hadn't actually mixed the type of brown I wanted. Or maybe I did and grabbed the wrong bottle. Of course I haven't labeled the bottles even now. The end result is a lot of places painted far more orange of a shade than I would like.

So the solution seems easy. Make a brown wash and fix it right up. Not so fast. That orange isn't going away. Putting a brown over it is a tricky business because then I'll have an orange undercoat and brown doing whatever it's doing on top of that. The wrong shade and tone of brown over that orange could easily make things worse instead of better.

I have a book on mixing colors for watercolor, acrylic, and oil paints. I've been referring to it as part of this overall project and I'm pleased to note that there haven't been many big surprises. I'm decent on my color theory. Maybe not great but for the projects so far I've had a handle on it.

But this one has been a stumper. I've continued painting while trying to figure out how best to fix this mistake I made with minimum effort. More will be made clear as to why the fix is slightly more difficult than it might seem. Bear with me.

Tonight I had a revelation. I was talking brown with someone else and it got me thinking of how easy and how difficult it is to make a brown using other colors. Pretty much take any three colors, mix them, and you'll get brown. It might not be a pretty brown but you'll get brown. More importantly you'll get shades of brown. Unless you've used a purple brown you really don't see what this means. Yes. I have purple brown paint. It's useful.

As I said earlier brown is just an orange kind of shade. I'm trying to take an orange heavy color and brown it down. The fog cleared a little and I realized what I need to do is take that same shade and add some color to it to make it more brown. It took far longer for me to reach that conclusion than it should have but I was sulking.

So what color do you add to orange to make it more brown? Orange is really just red and yellow so blue seems the obvious answer. Since it's the obvious answer I did some research in my handy book of color mixing to find out I was right in that it wasn't the answer. According to the book I need to add some mauve. Instead of blue I need a blue shading to red. In my mind that's going to make the end result rather red heavy (orange is red and yellow and I'm looking at adding blue and red) but it's worth a shot.

Tomorrow is the test. I'll use the same base color and add just a touch of blue. Blue is a very intense color and anything with a heavy yellow mix is not. Again, color theory. I won't get into yellows here but I will probably have a rant on them in the near future. Therefore anything I add needs to be done with a light touch. If the blue doesn't quite work out then a touch of red. I can play with this all I like since it only take a few drops to find out if it will work or not.

I don't have to make much note of what I'm doing here. I'll be mixing up a completely new brown to take the place of the mistake in the future. Of course I will take notes in case I really like the resulting brown so I can duplicate it, starting with the orange type color as the base. I always take notes now. So when I say I won't make much note of it I think I mean that I'm not going to make a chemistry experiment level kind of notetaking. More of a reference. I think. I don't know. I'll write something down at least.

I'm very curious to see if my knowledge of color theory will hold up in practice. It's easy to say that something should work and to see it in a book. It's quite another to look at it on the palette and then the mini to confirm it worked. I'll take the hit of painting these areas twice because it was my mistake in the first place.

And what happened in the first place? I used the color I had mixed up for rust as the brown. It's a lovely color for rust. It's not a lovely color for leather.

I'll end this on a more humorous note. 

Competition painters and people who are more into the whole color theory aspect of painting miniatures can get hung up on browns. Really hung up. One whole drawer of my paints are nothing but browns. Brown is a serious color, even if it isn't a color.

Way back when I got here I would hang out and paint at a local game store, which has sadly been closed for many years. Someone I considered a friend would be there painting as well. He was as into color theory as I am. He has to be. He competes. I just do it because I'm that picky. But we were on the same page when it came to picking colors.

Whenever we would start talking about browns the other people from the group would say "They're talking about brown again" and tune us out. They didn't have nearly the same level of interest as we did. That got shortened to "The brown discussion" when it would come up at the paint table. I remember those days fondly because we would spend a lot of time finding exactly the right brown for the color palette. Even then I was pretty good at picking the right family of browns for the project at hand, if I do say so myself.